Embarking on a move out cleaning journey at your Alcoa rental can be a daunting task, but with the right checklist in hand, you can ensure a smooth and successful transition for the next tenant. From thorough room-by-room deep cleaning to final touches and inspection tips, this guide will walk you through the essential steps to leave your rental spotless and welcoming. Let’s dive in!
Preparation Steps Before Move Out Cleaning
Before diving into the cleaning process, decluttering your space is essential. Start by sorting items into categories such as keep, donate, toss, or recycle. This step not only makes cleaning easier but also helps you downsize and pack efficiently for your own move.
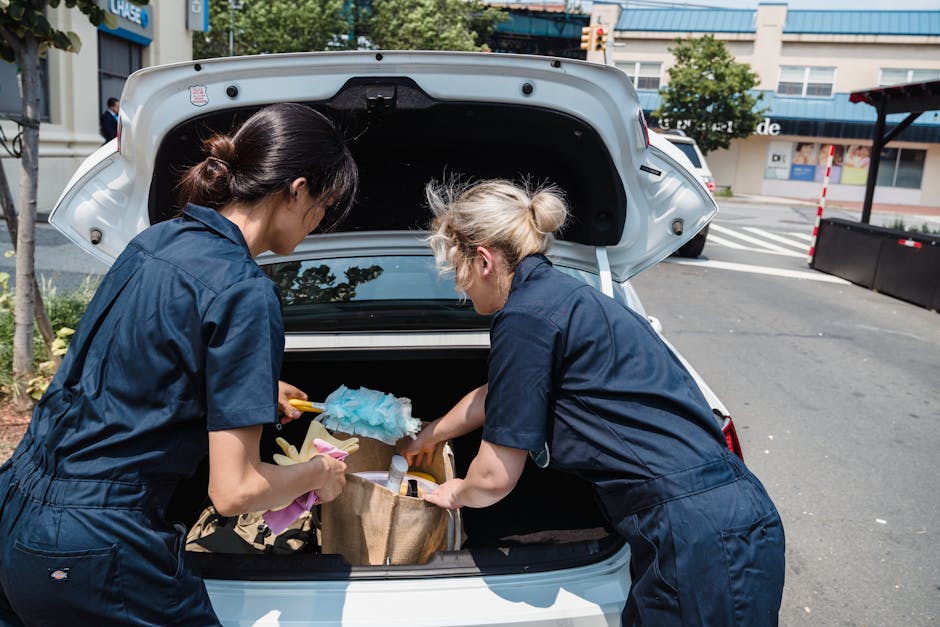
Next, gather all the necessary cleaning supplies. Make sure you have cleaning products suitable for different surfaces like glass, wood, and tile. Stock up on microfiber cloths, sponges, a vacuum cleaner, mop, and broom to ensure you have everything on hand for a thorough cleaning session.
Create a detailed checklist tailored to your Alcoa rental. Include specific tasks such as cleaning kitchen appliances inside and out, scrubbing bathrooms, dusting light fixtures, wiping baseboards, and vacuuming carpets. Having a checklist will help you stay organized and ensure no area is overlooked.
Lastly, schedule ample time for the move out cleaning. Depending on the size of your rental and the extent of cleaning needed, allocate sufficient hours or days to complete the task without feeling rushed. Setting realistic timeframes will help you tackle each cleaning aspect thoroughly.
Deep Cleaning Guide for Every Room
Commence your deep cleaning journey by focusing on one room at a time. Start with the kitchen, a high-traffic area that requires special attention. Clean inside the refrigerator, oven, and dishwasher. Wipe down cabinets, countertops, and backsplashes to remove grease and food residues.
Move on to the bathrooms, scrubbing sinks, toilets, showers, and bathtubs with disinfectant cleaners. Don’t forget to clean the grout, mirrors, and bathroom fixtures. Ventilate the area well to let it air out and dry after cleaning to prevent mold and mildew growth.
For living areas and bedrooms, dust all surfaces including furniture, shelves, and décor. Vacuum carpets and upholstery, and mop hard floors. Pay attention to light switches, doorknobs, and baseboards as these often overlooked areas can harbor dirt and germs.
In each room, check for any damages like holes in the walls, scuff marks, or loose fixtures. Make note of these for repairs before the next tenant moves in. A thorough deep cleaning not only enhances the appearance of your rental but also maintains its condition for the new resident.
Once you’ve cleaned all rooms, don’t forget common areas like hallways, staircases, and entryways. Ensure these spaces are free of clutter, well-lit, and clean to provide a positive first impression for the incoming tenant.
Final Touches and Inspection Tips
After completing the deep cleaning tasks, focus on final touches that elevate the overall appeal of your rental. Add a fresh coat of paint to walls if necessary, replace any burnt-out light bulbs, and consider adding a welcoming touch like fresh flowers or a scented candle.
Conduct a detailed inspection of your rental once the cleaning is done. Check for any missed spots, ensure all appliances are in working condition, and confirm that plumbing fixtures are leak-free. Taking the time to double-check ensures that your rental is move-in ready for the next tenant.
As a final step, document the condition of the rental with photos or a checklist. This documentation can serve as a reference point during the move-in inspection with the new tenant. It also helps protect your security deposit by providing evidence of the condition you left the property in.
As you work your way through the move out cleaning checklist, remember that attention to detail and thoroughness are key in ensuring that your Alcoa rental is not just clean, but also ready to embrace its new tenant seamlessly. By following these guidelines, you can leave behind a space that shines and sets the stage for a fresh start.


